Why do you need flavors?
Flavors are typically used to build your app for different environments such as dev and prod.
For eg.
- your development version of the app might want to point to an API host at
- and your production version of the app might want to point to
For eg.
- your development version of the app might want to point to an API host at
dev.api.myapp.com
- and your production version of the app might want to point to
api.myapp.com
.Instead of hardcoding these values into variables and building an app for every environment manually, the right approach is to use flavors, and supply these values as build time configurations.
Flutter App Setup
AppConfig
Create a class AppConfig to encapsulate the app's environment/flavor type and specific name for that flavor.
class AppConfig {
  final String appName;
  final String flavor;

  AppConfig({required this.appName, required this.flavor});
}
Entry point for dev flavor
Create a file
lib/main_dev.dart
to run app in dev
flavor. This is where you assign the flavor type and specific name for App based on that flavor.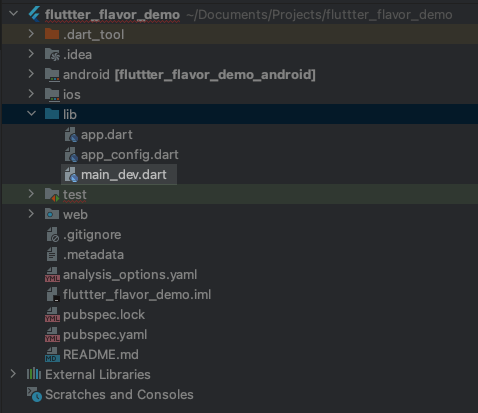
import 'package:flutter/material.dart';
import 'package:fluttter_flavor_demo/app.dart';
import 'package:fluttter_flavor_demo/app_config.dart';

void main() async {
  AppConfig devAppConfig = AppConfig(appName: 'CounterApp Dev', flavor: 'dev');
  Widget app = await initializeApp(devAppConfig);
  runApp(app);
}
Entry point for prod flavor
Create a file
lib/main_prod.dart
to run app in prod
flavor. This is where you assign the flavor type and specific name for App based on that flavor.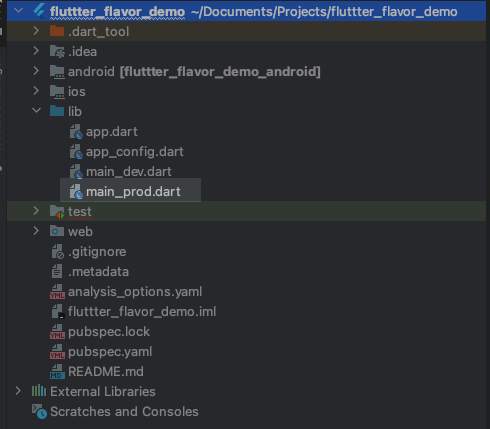
import 'package:flutter/material.dart';
import 'package:fluttter_flavor_demo/app.dart';
import 'package:fluttter_flavor_demo/app_config.dart';

void main() async {
  AppConfig devAppConfig =
      AppConfig(appName: 'CounterApp Prod', flavor: 'prod');
  Widget app = await initializeApp(devAppConfig);
  runApp(app);
}
Android
Let’s configure environment variants (a.k.a Flavors) at Android platform. At this point you should have two Firebase projects setup dedicated for
dev
and prod
environment/flavor each.Setup Flavors
The next step is to define flavors in
app/build.gradle
file as shown below.android {
defaultConfig {
applicationId "com.pcc.fluttter_flavor_demo"
minSdkVersion 16
targetSdkVersion 30
versionCode flutterVersionCode.toInteger()
versionName flutterVersionName
}
...
flavorDimensions "fluttter_flavor_demo"
productFlavors {
dev {
dimension "fluttter_flavor_demo"
applicationIdSuffix ".dev"
resValue "string", "app_name", "fluttter_flavor_demo Dev"
versionNameSuffix ".dev"
}
prod {
dimension "fluttter_flavor_demo"
applicationIdSuffix ".prod"
resValue "string", "app_name", "fluttter_flavor_demo Prod"
versionNameSuffix ".prod"
}
}
}That is all you need to enable flavors on Android side.
iOS
Let’s create
dev
and prod
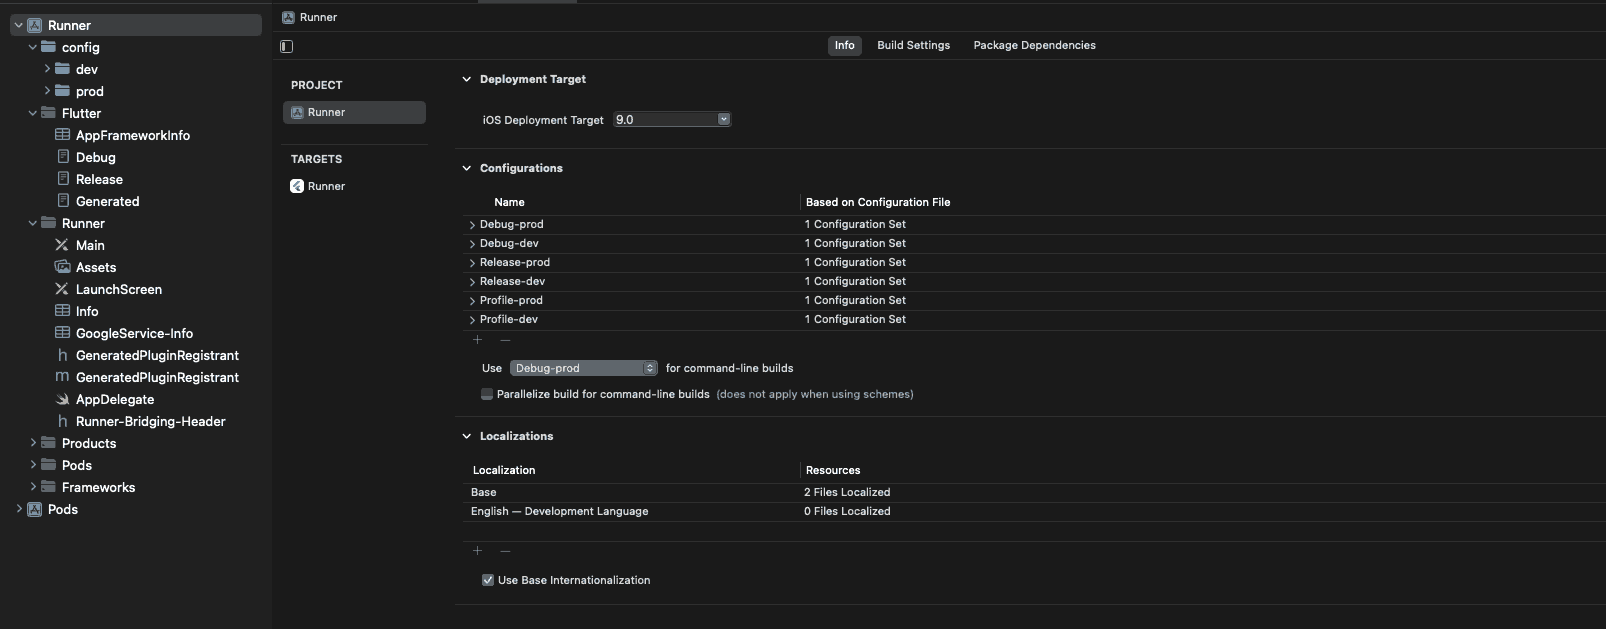
environments(a.k.a Schemes) at iOS platform. We need to setup custom schemes at iOS side to support multiple variants.Custom Schemes
You need to create two schemes for two different environments:
dev
& prod
. Follow the directions below:- Create Scheme: dev -> Create debug, release and profile configuration for this new scheme (Project Runner -> Configuration-> Duplicate debug, release and profile configs for dev scheme)
- Rename existing Runner default scheme to prod.
- Manage scheme -> Assign correct configuration to its corresponding scheme.
At this point, if you run
flutter run -t lib/main_dev.dart --flavor dev
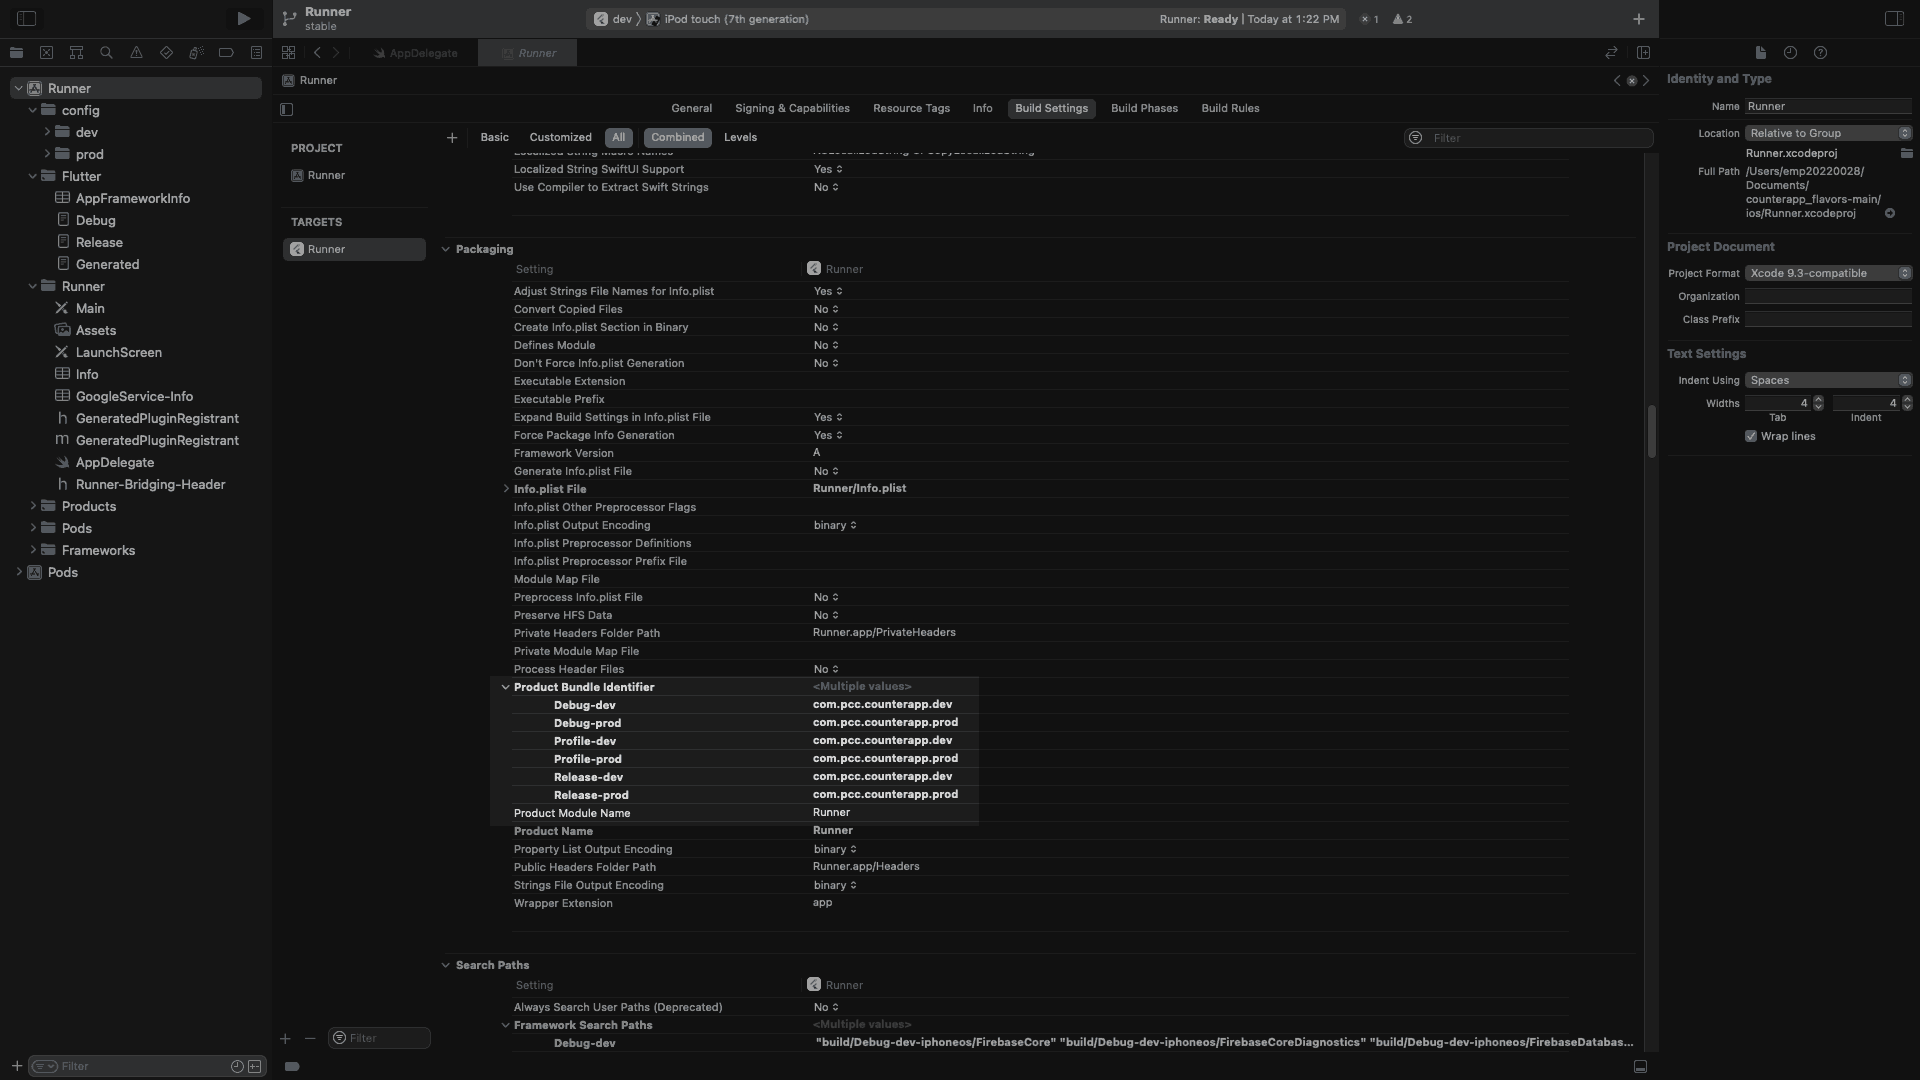
in CLI, you will see information to complete the custom scheme. Finish the custom scheme set up as directed.Scheme specific Product bundle identifier
Remember to assign the correct bundle identifier for each scheme as described below.
Running App
I find the following commands handy on CLI to run the app for specific flavors:
#Run app in `dev` environment

flutter run -t lib/main_dev.dart  --flavor=dev

# Debug signing configuration + dev flavor

flutter run -t lib/main_dev.dart  --debug --flavor=dev

flutter run -t lib/main_dev.dart  --release --flavor=dev

#Build app in `dev` environment

flutter build appbundle -t lib/main_dev.dart  --flavor=dev

flutter build apk -t lib/main_dev.dart  --flavor=dev
#Run app in `prod` environment

flutter run -t lib/main_prod.dart  --release --flavor=prod

#Build app in `prod` environment

flutter build appbundle -t lib/main_prod.dart  --flavor=prod

flutter build apk -t lib/main_prod.dart  --flavor=prod
This is all done for flavor setup.