Table of Contents
Introduction
The Swift Package Manager was introduced in Swift 3.0 and enabled us to manage Swift dependencies. We can compare it to tools like CocoaPods and Carthage that also allow us to add dependencies to our project.
The Package Manager is integrated with the Swift build system to automate the process of downloading, compiling, and linking dependencies. This automation makes it really easy to add and work with external dependencies in our Swift projects.
Supported Platforms
Swift Package Manager or SwiftPM, was initially only available for server-side and command line Swift projects. Since the release of Swift 5 and Xcode 11, SwiftPM is compatible with the iOS, macOS, watchOS and tvOS build systems for creating apps.
Swift Package
Package can either be a public library that is shared using services like GitHub, Bitbucket, Gitlab, or some other internal tool or framework that is only shared within a small number of projects.
The contents of a package are declared using a Package.swift manifest file, which is placed in the root directory of each package. Rather than using a data format, like JSON or XML. Swift package manifest file is written using actual Swift code with a Package instance representing the declaration of the package.
Create our own Dependency
For example we are creating an app, and we want to create AppUtility package for all of our core logic that is shared across the apps - like custom colors, controls, custom views and so on.
To get started in Xcode 11 we can create our package using the File > New > Swift Package menu or run swift package init from terminal.
By doing above we will have created an initial structure for our new package which includes a Package.swift manifest file which looks something like this:
// swift-tools-version:5.1
import PackageDescription

let package = Package(
    name: "AppUtility",
    platforms: [
    	.iOS(.v11)
    ],
    products: [
        // The external product of our package is an importable
        // library that has the same name as the package itself:
        .library(
        name: "AppUtility",
        targets: ["AppUtility"]),
    ],
    dependencies: [
        // Dependencies declare other packages that this package depends on.
        // .package(url: /* package url */, from: "1.0.0"),
    ],
    targets: [
        // Our package contains two targets, one for our library
        // code, and one for our tests:
        .target(
            name: "AppUtility",
            dependencies: []
        ),
        .testTarget(
            name: "AppUtilityTests",
            dependencies: ["AppUtility"]
        ),
    ]
)By default, the Swift Package Manager will match the names of the targets defined within our manifest file with corresponding folders on disk in order to determine what Swift files that belong to each target.
We can add remote dependency such as third party library to be added to a project. Any package that can be fetched through Git can be added simply by specifying its URL, as well as the version constraint that we wish to apply to it:
.package(
    url: gitURL,
    from: packageVersion
)In the package version we are importing the file package of the given version. We can replace the above from: parameter with the .exact version requirement.
To follow best practise for our package version we can refer to semver.org
Local Packages
Rather than being downloaded from a URL, local package dependencies are simply added directly from a folder on disk — which lets us import our own packages without worrying about versioning, and also enables us to directly edit a dependency’s source files within the project using it.
While all Swift packages are assumed to be cross-platform (and version agnostic) by default, by adding the platforms parameter when initialising our Package within our manifest file, we can constrain our code to only support a given set of platforms and OS versions — like this, if we wanted to build a package that supports iOS specific code:
let package = Package(
    name: "AppUtility",
    platforms: [
        .iOS(.v11)
    ],
.....We can create new class file for custom controls or specific operations. For example we can create the following UIColor+Extension.swift file to provide custom color which will be available globally for use in our projects.
#if !os(macOS)

import UIKit

public extension UIColor {
   public static var themeColor: UIColor = UIColor.black
}

#endifAfter adding this file, we can use this package in our app by simply importing package.
import AppUtility
class ViewController: UIViewController {
@IBOutlet weak var informationLabel: UILabel!
override func viewDidLoad() {
super.viewDidLoad()
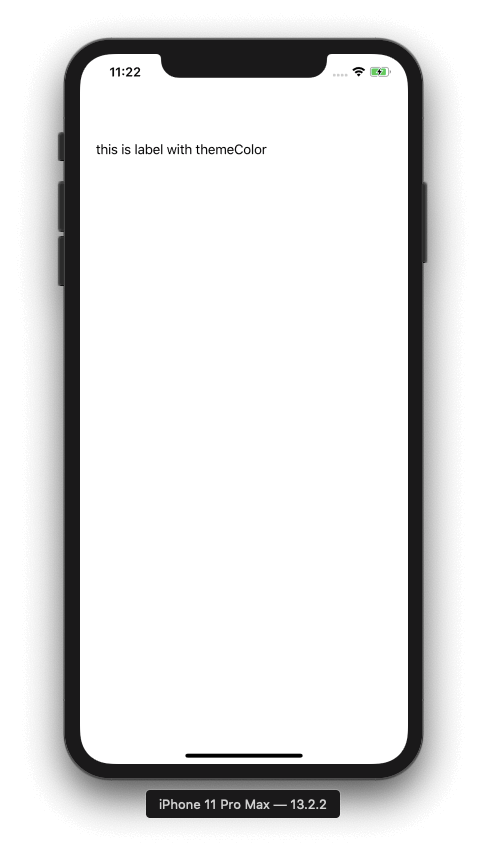
informationLabel.text = “this is label with themeColor”
// here we used our themeColor value of AppUtilityPackage
informationLabel.textColor = UIColor.themeColor
}
}
Integration with Xcode
Xcode 11 added integrated support to manage our Swift Packages from within Xcode itself. It started supporting creating and working with Swift packages, as well as adding, removing, and managing package dependencies.
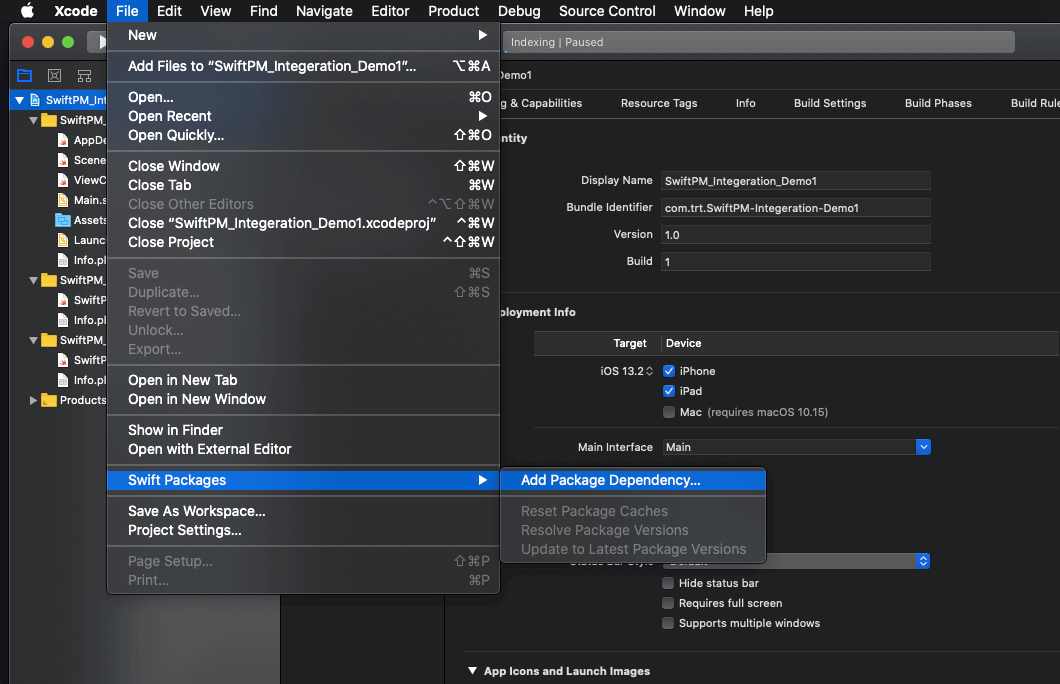
Swift packages can now be used natively in apps on all of Apple’s platforms and Xcode can even automatically add a package as a dependency to a project through its Add Package Dependency option located in the brand new File > Swift Packages menu.
Third Party Integration
Using this new integration it enables us to easily import third party libraries as Swift packages, and it can also let us leverage the power of the Swift Package Manager to improve the modularity of our code base.
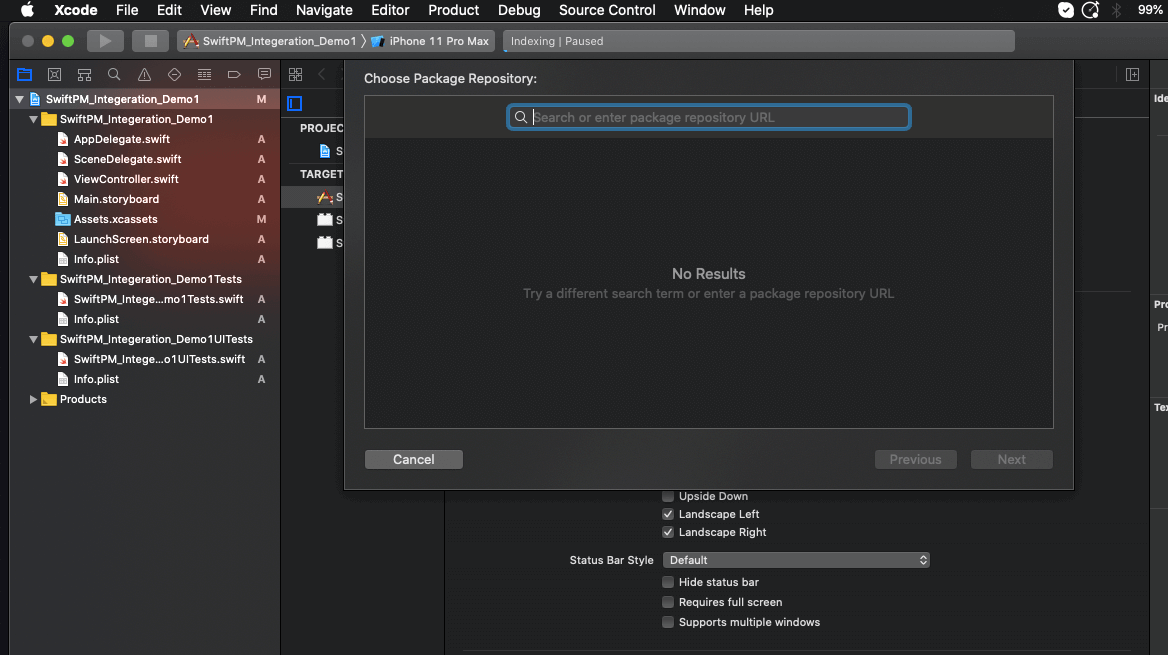
We can enter a repository URL or we can search for a package on GitHub or GitHub Enterprise. Add your GitHub or GitHub Enterprise account in Xcode’s preferences, and a list of package repositories appears as you type.
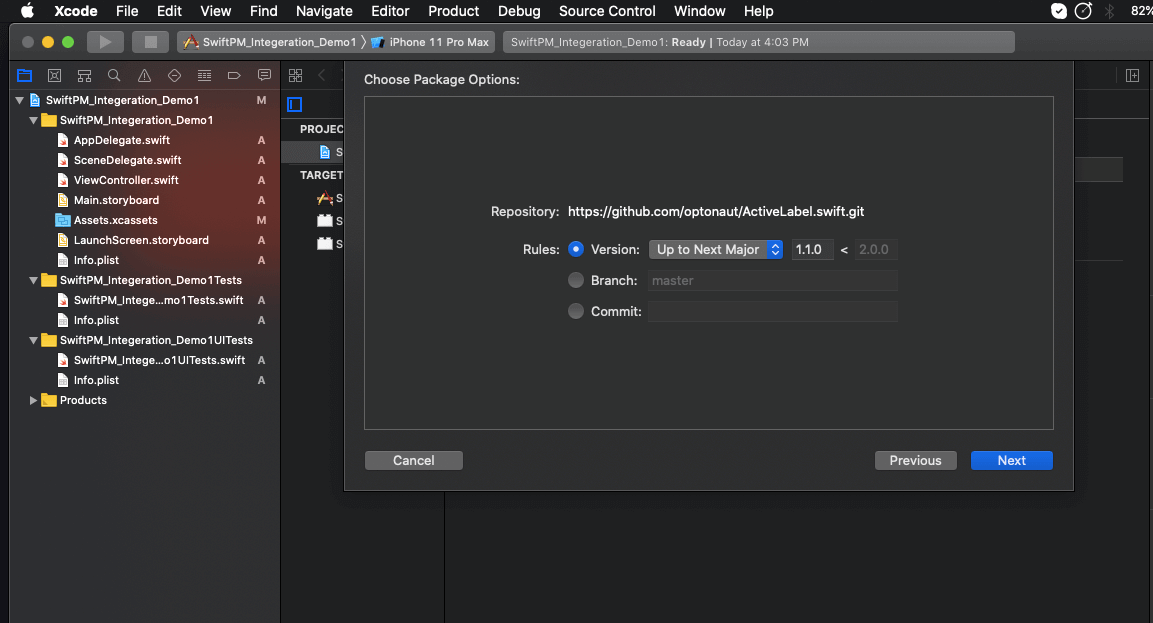
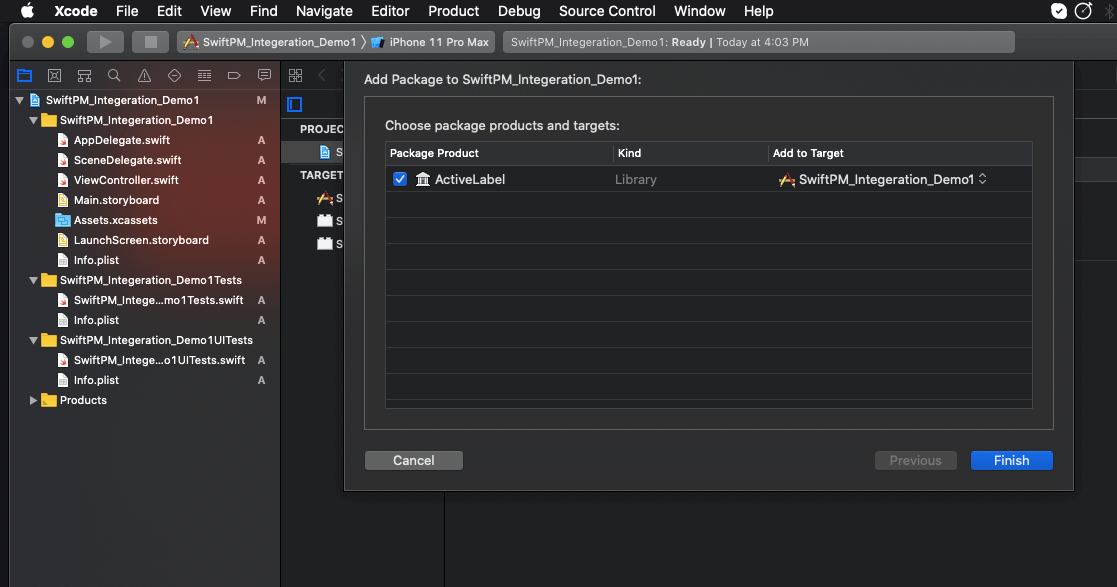
When we enter the package dependency’s URL or pick a Swift package from the list of packages, we need to choose one of three package requirements (version, branch or commit). Package requirements determine the allowed versions of the package dependency in our project and Xcode updates our package dependency based on the requirement that we have chosen. After installation we need to select a target.
Although Xcode updates our package dependencies and resolves package versions automatically, we can trigger both actions from the File > Swift Packages menu.
Use Features and Assets Provided by a Swift Package
import UIKit
// Import the module that corresponds with the Swift package’s library
// product ActiveLabel
import ActiveLabel
class ViewController: UIViewController {
override func viewDidLoad() {
super.viewDidLoad()
// Use the Swift package’s ActiveLabel class
let informationLabel = ActiveLabel(frame: CGRect(x: 20, y: 20, width: 200, height: 200))
informationLabel.numberOfLines = 0
// select enabled types for label provided by ActiveLabel class
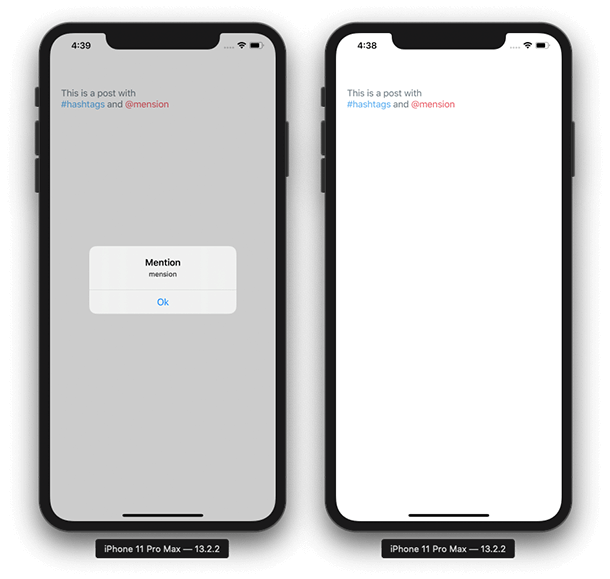
informationLabel.enabledTypes = [.hashtag, .mention, .url]
informationLabel.text = "This is a post with #hashtags and @mension "
// set color to specific content type
informationLabel.textColor = UIColor(red: 102.0/255, green: 117.0/255, blue: 127.0/255, alpha: 1)
informationLabel.hashtagColor = UIColor(red: 85.0/255, green: 172.0/255, blue: 238.0/255, alpha: 1)
informationLabel.mentionColor = UIColor(red: 238.0/255, green: 85.0/255, blue: 96.0/255, alpha: 1)
// add action for specific content type
informationLabel.handleMentionTap { self.alert("Mention", message: $0) }
informationLabel.handleHashtagTap { self.alert("Hashtag", message: $0) }
self.view.addSubview(informationLabel)
}
// Show an alert with given text
func alert(_ text: String, message: String) {
let alert = UIAlertController(title: text, message: message, preferredStyle: .alert)
alert.addAction(UIAlertAction(title: "Ok", style: .default, handler: { [weak self] _ in
}))
guard let `self` = self else { return }
self.present(alert, animated: true, completion: nil)
}
}
Updating Package Dependencies
We can update to the latest version of any packages we depend on at any time by selecting File ▸ Swift Packages ▸ Update to Latest Package Versions.
Having just added the Our package earlier, it’s unlikely a newer version is available. But if it was, Xcode would download the latest code and update our project to use it automatically.
Conclusion
While the Swift Package Manager isn’t really a brand new tool anymore, the fact that it can now be used for apps on all of Apple’s platforms gives it a much wider appeal — and kind of feels like a “new beginning” for Swift packages as a concept. Being able to use the same package manager to build anything from server-side applications, to command line tools and scripts, to iOS apps, is also incredibly powerful — and could potentially enable parts of our code to be reused in even more contexts.